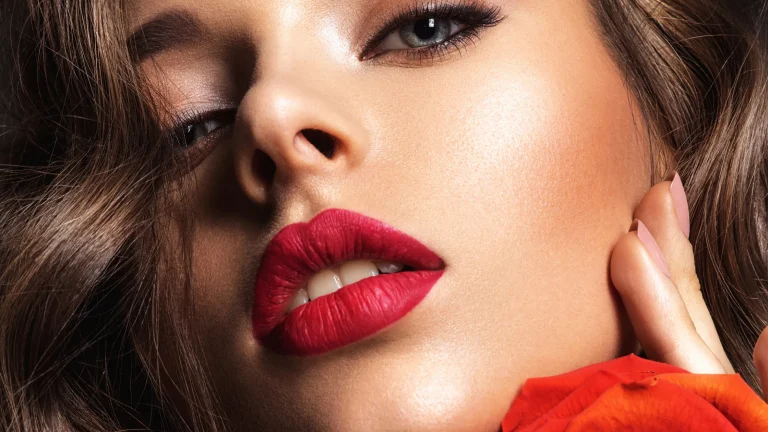

The search for a Makeup for photos that doesn't cause flash rebound. It requires understanding exactly how light reflects on your face during a nighttime event or photoshoot.
Advertisements
In this comprehensive guide, you'll learn the best beauty techniques to avoid a washed-out look, ensuring perfect photos, flawless sharpness, radiant skin, and a professional finish under any lighting.
- What causes the explosion: Understand the physics of reflective ingredients.
- Strategic skin preparation: Hydration and primers free of reflective particles.
- Correct foundations and concealers: Choosing pigments for night photography.
- Sealing without ghosting effect: The mystery of translucent powders solved.
- Practical product table: What to use and what to avoid.
- Frequently Asked Questions: Direct answers to the most common questions.
What is flash bounce and why does it happen in photos?
The famous rebound effect occurs when intense studio or cell phone light hits the face and reflects directly back onto the lens of the professional camera.
This optical phenomenon transforms flawless makeup in person into pronounced white blotches, creating an undesirable ghostly appearance in photographs posted on social media or digital albums.
The main cause of this problem lies in certain cosmetic ingredients that act like tiny mirrors, reflecting direct light instantly instead of absorbing it smoothly and evenly.
Which cosmetic ingredients cause the "blowout" effect in lighting?
Titanium dioxide and zinc oxide are the main culprits, commonly found in physical sunscreens due to their high capacity to reflect ultraviolet radiation.
In addition to sunscreens, pure silica 100%, often found in mineralizing powders and finishing products, reflects flash light with extreme intensity when applied excessively to the skin.
Excessive bright pigmentation, such as highly reflective micas, also contributes to disordered shine, requiring absolute caution when choosing products for specific nighttime events.

How to prepare your skin to ensure perfect, glare-free photos?
Start your beauty routine by cleansing your face with a gentle micellar solution to remove excess oil without drying it out or damaging the skin's natural barrier.
Apply a facial moisturizer with a matte or satin finish, ensuring that the skin absorbs the product completely before starting any layer of social makeup for photography.
++ Latika Lipsticks: Colors, Texture, and Longevity (Full Review)
Replace your traditional sunscreen with a shimmer-free, even-toned primer to prevent light reflection and keep your skin feeling velvety smooth throughout the celebration.
How to choose the ideal foundation and concealer for photography?
Choose a liquid foundation with a natural finish and medium coverage, avoiding formulas that contain high sun protection or highly concentrated illuminating particles in the bottle.
The foundation shade should exactly match the tone of your chest and neck to avoid harsh lines when exposed to the bright light of a party setting.
The concealer needs to be highly pigmented and exactly match the skin tone, ruling out the idea of using excessively light shades to brighten the under-eye area.
To deepen your knowledge of cosmetic formulations and dermatological safety, consult the health portal of [Company Name]. Anvisa to verify regulations regarding safe ingredients.
Why is translucent powder the biggest enemy of nighttime makeup?
The translucent white powder contains a high concentration of silica, a fine mineral that appears invisible to the naked eye but reflects the flash lighting in an overwhelming way.
When deposited in excess in the technique of baking, The product leaves imperceptible residue under natural light, which becomes terribly noticeable as soon as the camera's flash fires.
Read more: Latte makeup guide for a sleek and modern look.
Always opt for micronized powders with a specific color for your skin tone, as the colored pigments absorb light without creating the dreaded whitish appearance.
How to apply highlighter without compromising the final result?
Choose highlighters with creamy or ultra-fine powder textures, prioritizing shades that harmonize perfectly with your natural color palette, such as gold, bronze, or champagne.
Apply the product strategically to the high points of the face, such as the tops of the cheekbones and brow bone, using a fan brush to distribute the shimmer very lightly.
++ Sleep Hygiene: The Practical Guide to Restful Nights of Sleep
Avoid applying highlighters to the center of your forehead, the tip of your nose, or your chin, as these areas tend to accumulate natural oils and reflect light unevenly in photos.
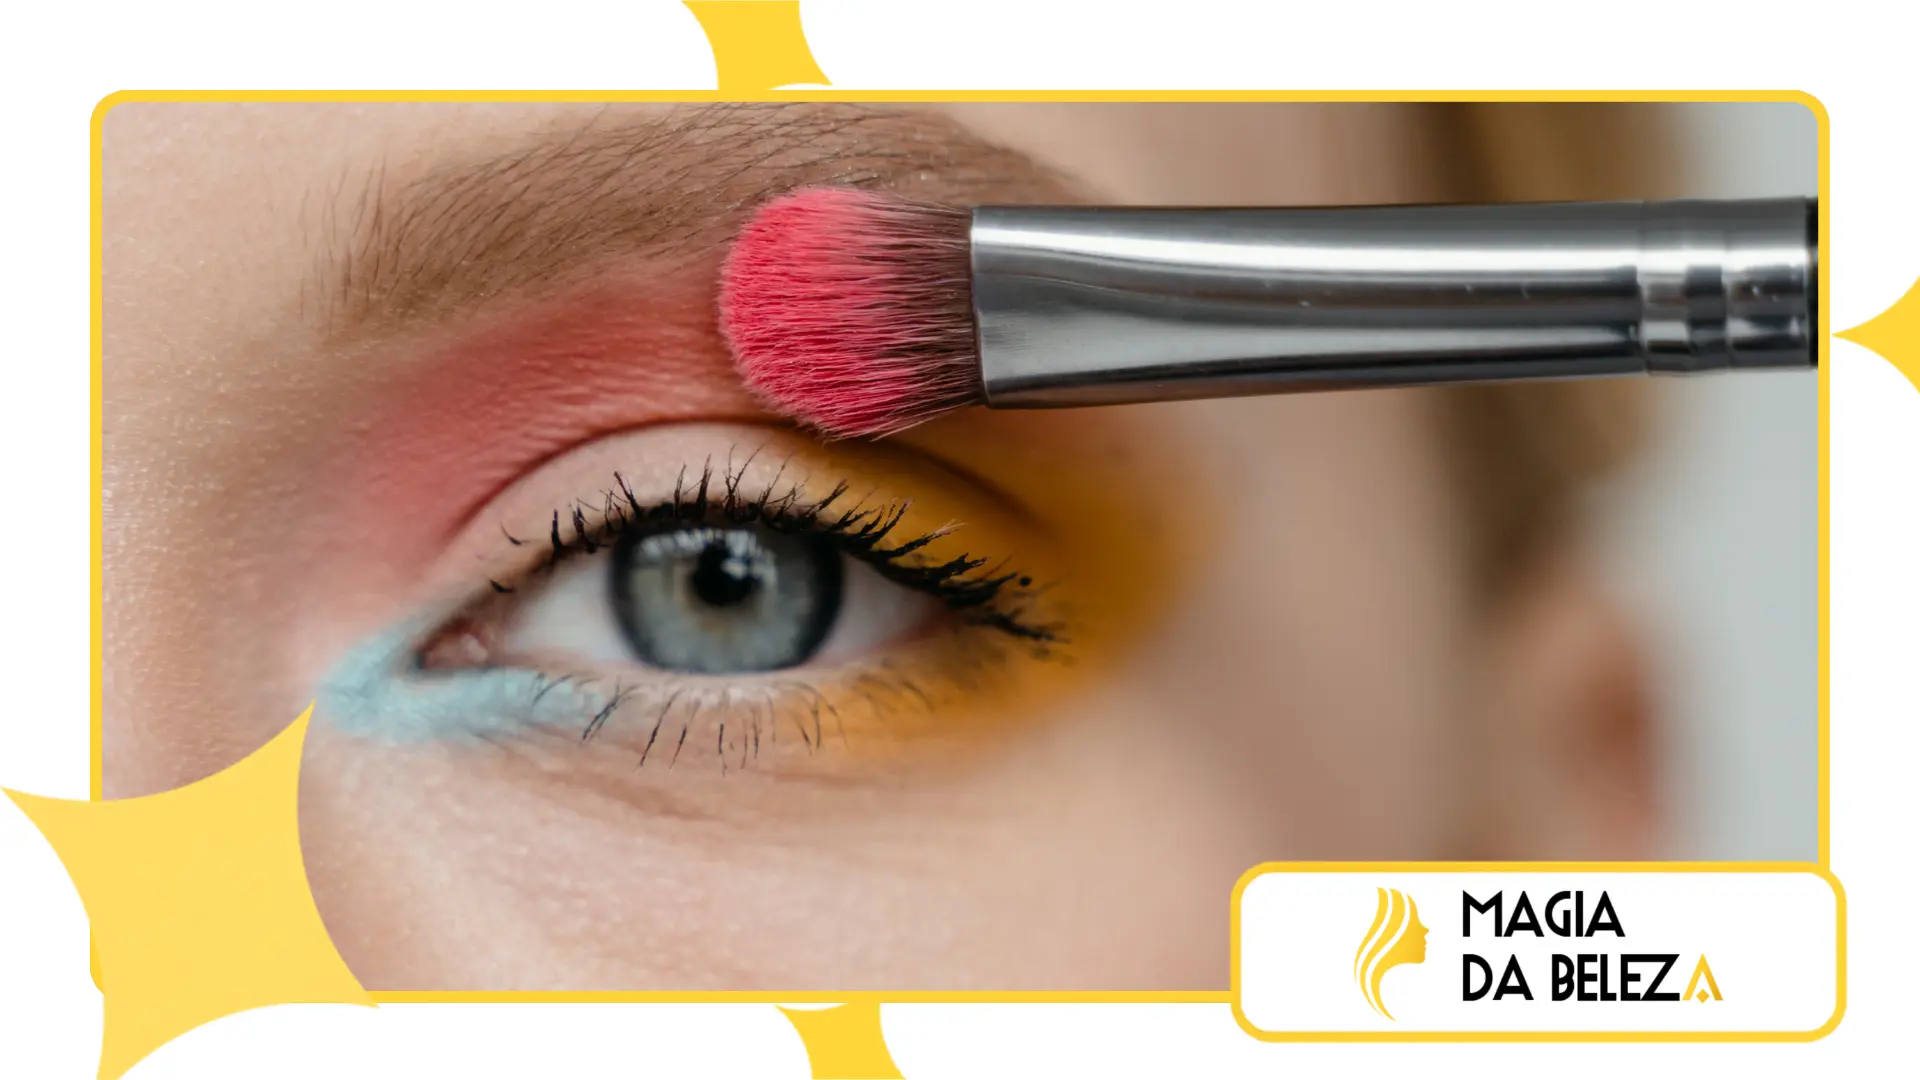
Step-by-step guide to creating a makeup look for photos without flash bounce.
Building photogenic skin requires thin layers, constant buffing, and products specifically selected to interact well with high-resolution lenses and intense artificial lighting.
Following the correct order of products ensures impeccable durability, fixes the print for hours, and completely eliminates the risk of white spots on your photographic memories.
Cleansing and Hydration: Cleanse your face and apply a lightweight, fast-absorbing moisturizer that does not contain any sunscreen.
Uniformity with Primer: Use a mattifying primer focused on optically blurring pores, spreading it evenly in the center of the face with gentle tapping motions.
Base Application: Spread the medium-coverage liquid foundation with a damp sponge, ensuring an even finish without product buildup.
Specific Correction: Apply the concealer, matching your skin tone exactly, to dark circles and blemishes, using light tapping motions to blend the product perfectly.
Colored Sealing: Set your T-zone with a tinted pressed powder in your exact shade, using a soft brush to remove any excess.
Contour and Blush: Sculpt your cheekbones with matte bronzer and apply a satin blush to bring life and three-dimensionality back to your face.
Final Fixation: Finish with a natural-finish makeup setting spray to blend all the layers and eliminate any powdery look.
Product guide: what to choose and what to avoid for photos
To make it easier to assemble your event toiletry bag, we've gathered the top cosmetic choices that protect your look from direct light during photography.
The table below compares the characteristics of safe cosmetics versus those that frequently cause disappointment in images captured under intense studio or smartphone lighting.
| Product Category | Safe for Flash Photography | Risk of Rebound Effect (Avoid) |
| First | Matte or silicone-based finish without shine. | Illuminating formulas with glitter or high SPF. |
| Base | Fluid, matte or satin finish without sunscreen. | Foundations with physical sunscreen (titanium dioxide) |
| Corrective | Matching skin tone perfectly and highly pigmented. | Shades much lighter than skin tone or with SPF |
| Finishing Powder | Compact or loose powder with micronized color | White translucent powder with pure silica. |
| Illuminator | Ultrafine particles in champagne or bronze tones. | Coarse particles of glitter or whitish sheen. |
How important is ambient lighting for makeup application?
Direct ambient light can drastically alter how makeup colors appear through the camera lens, requiring adjustments to the contrast and intensity of the products.
Yellowish lighting tends to soften facial contours, while cool lights and cell phone flashes intensify any imperfections or buildup of powder that hasn't been properly blended.
Before leaving home, do a practical test on your cell phone by taking a photo with the flash in the dark to check for reflective spots on your face.
How can I make my makeup last throughout the entire event?
Use setting sprays without shimmer particles when finishing your makeup, as they blend the powder products with the skin, providing an extremely natural finish.
Carry blotting papers in your bag to absorb excess oil throughout the night without having to reapply successive layers of powder to your already made-up face.
Constantly reapplying powder creates the perfect buildup for flash photography to reflect off the dry layers, compromising the look in photos taken at the end of the party.
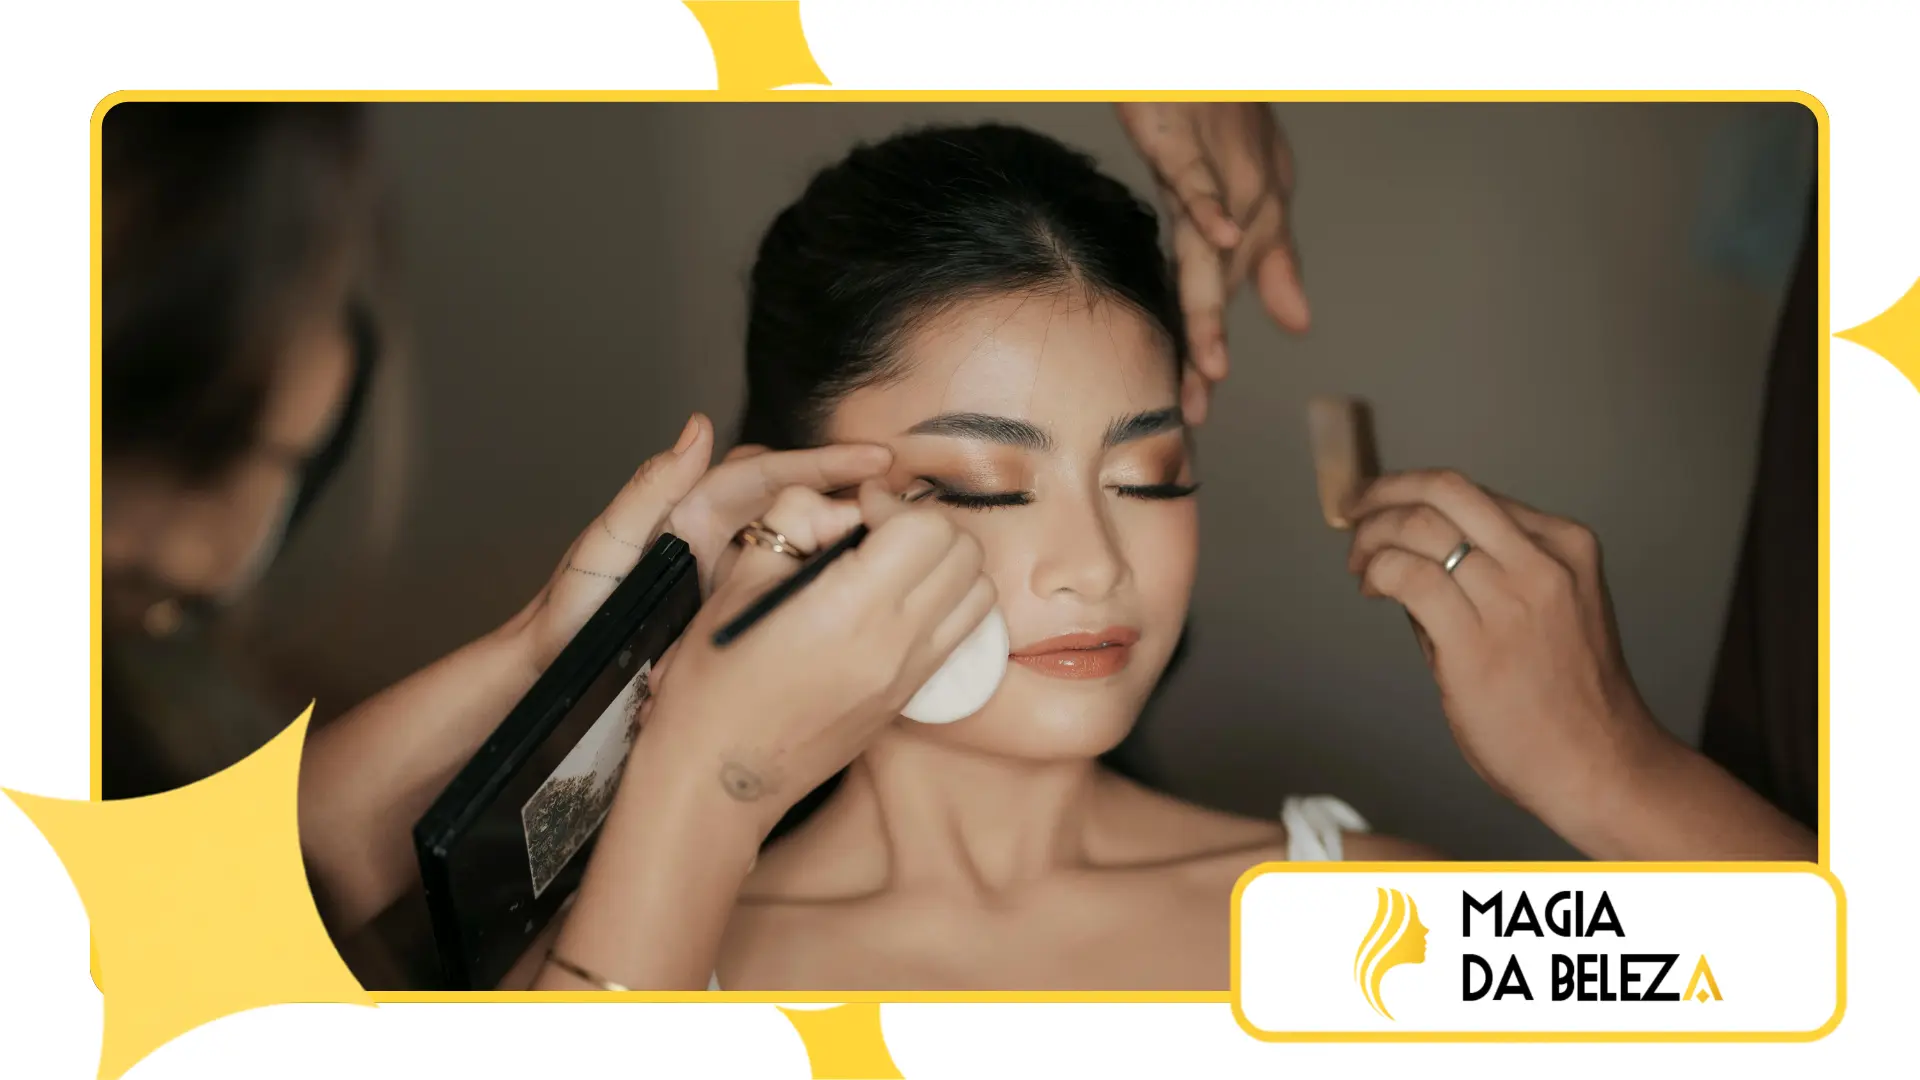
Common mistakes that ruin your photo and how to fix them.
The most frequent mistake is forgetting to bring the foundation down to the jawline and neck, creating a noticeable contrast as soon as the light hits the area.
Another common mistake involves applying too much highlighter in an attempt to create a natural glow, resulting in an overly oily skin appearance in the final photograph.
Correct these small mistakes by using clean, fluffy bristle brushes to blend all the transitions between contour, blush, and highlight before leaving home.
To fully understand how the physics of light affects image sensors and digital photography in general, explore the educational materials from [website/source name]. National Geographic about lighting and photographic optics.
Conclusion
Master the Makeup for photos that doesn't cause flash rebound. It ensures that all your production is recorded with absolute fidelity, highlighting your natural beauty at any event.
By replacing reflective cosmetics with micronized tinted versions and avoiding the use of physical sunscreen at night, you completely eliminate the risk of white spots in photographs.
Always remember to test your makeup with your smartphone camera before leaving home, adjusting small details to shine with complete confidence under the spotlight.
Frequently Asked Questions
Can I use sunscreen before applying makeup for evening parties?
Not recommended. Sunscreens contain physical filters such as titanium dioxide that reflect flash light, causing an unwanted ghosting effect in photographs taken in dark environments.
Can colored translucent powder also cause flashback in photos?
If the powder contains a high concentration of pure silica in its composition, it can indeed cause cracking. Prioritize compact or micronized loose powders that contain a color pigment that matches your skin tone.
How can I tell if my foundation will look bad in photos before I go out?
Try this simple test in a dark room: take a selfie using the flash on your phone's rear camera from a moderate distance and see if any white spots appear.
Does thermal water help prevent the rebound effect from flash photography?
Thermal water helps to hydrate and remove the heavy, powdery look from the skin, but it doesn't prevent breakouts if you've used products with reflective ingredients like silica or titanium.